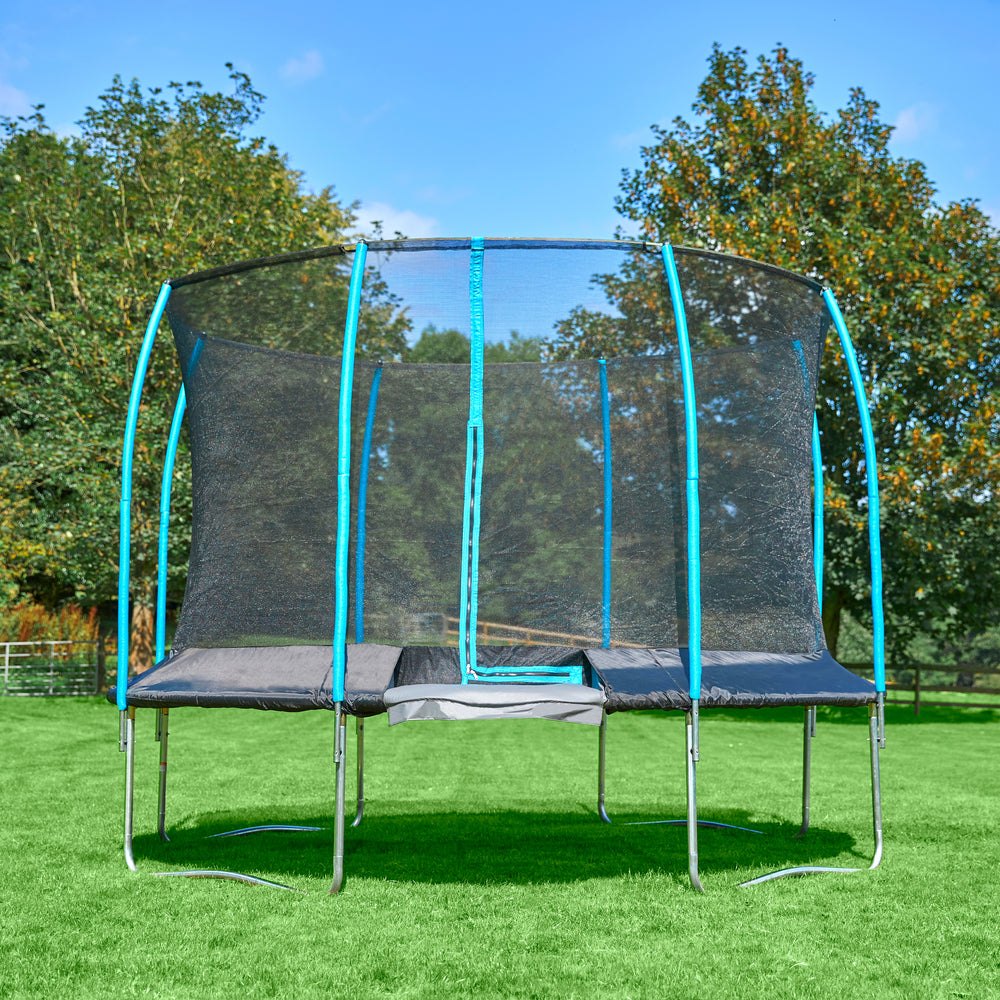
Assembling a 12ft trampoline in your garden is a relatively simple DIY task, so long as you prepare properly.
This detailed, step-by-step guide will walk you through every step of assembling and installing a 12ft trampoline, from preparation to the final safety check. With the right tools, a step-by-step approach and a strong focus on safety, you can set up a trampoline that is solid and sturdy, ready to be enjoyed for years to come.
How Do You Safely Assemble and Install a 12ft Trampoline?
Preparation
Before you begin, select a suitable location in your garden. It should be level, free of debris and have at least 2m clearance on all sides to accommodate the 12ft trampoline as well as the buffer zone. This 2m clearance is an important safety measure, protecting users in case of any unplanned exits from the trampoline.
Unpacking and Organising
Carefully unpack all parts of your 12ft trampoline with enclosure. Lay out the trampoline frame, jump mat, springs, safety pads, enclosure net and net poles. Double-check the manual to be sure you’ve got all the parts you need. This initial organisation step will streamline your whole trampoline assembly process.
Frame Assembly
Once you’ve chosen your location and you’ve got your parts in order, start by connecting the pieces of the trampoline frame on the ground. Use a rubber mallet to gently tap the pieces together, making sure they fit tightly. The frame's integrity is essential for the overall stability of the trampoline, check and double-check that the frame feels sturdy and secure.
Attaching the Legs
The next step is to attach the trampoline legs to the frame. This is when you'll begin to see the trampoline take shape. Make sure each leg is securely fastened to the frame, you might need to use a power drill to get a good fit. The legs need to be evenly spaced and firmly attached to prevent wobbling or instability.
Jump Mat and Springs
Position the jump mat in the centre of the frame, ready for the springs. Attaching the springs is a really crucial step. They need to be fitted correctly, to ensure the trampoline has good tension and bounce.
Use a spring puller tool to hook each spring from the mat to the frame, working in a star pattern to evenly distribute the tension. This star method also helps prevent the mat from becoming skewed.
Safety Pads and Enclosure Installation
Once the springs are attached, cover them with the safety pads. These pads protect users from crashing into the solid springs and frame edges. Read the manufacturer’s instructions to secure the pads in place.
The safety enclosure is your next focus. Assemble the net poles according to the manual and attach them to the trampoline frame. Then, install the enclosure net, ensuring it is tight and secure. The enclosure is another crucial step, it is an important safety feature that helps protect users from falling off the trampoline.
Final Checks
Now you’ve got your trampoline installed, take the time to go over each component again. You should be double-checking all connections, making sure the springs are evenly tensioned and the safety pads and net are securely attached. Ensure there are no gaps between the net and the jump mat where a user could potentially fall through.
Then, get on there and check out your handiwork!
What Tools and Preparations are Needed for Assembling a 12ft Trampoline?
To assemble a trampoline efficiently and safely, you'll need a few specific tools:
Rubber Mallet: To help you join frame pieces without damaging them.
Powerful Drill: Useful for securely fastening bolts, especially on the trampoline legs.
Spring Puller: An essential tool that enables you to attach the springs to the trampoline frame and jump mat.
Measuring Tape: To check the trampoline will fit in your chosen area, taking into account the 2m buffer zone.
Gloves: To protect your hands during the assembly process.
How Can You Ensure the Trampoline is Level and Secure During Installation?
Ensuring your trampoline is level is a crucial step.
Check the ground is level before you start assembling, if it’s not you might want to use sand to balance out the surface. Then, as you are assembling, use a spirit level on each leg of the trampoline, to create a stable base.
You should also use a trampoline anchor, securing the trampoline to the ground. This anchor grounds trampolines, preventing them from taking off in windy weather!
What are the Common Mistakes to Avoid When Setting up a 12ft Trampoline?
- Ignoring the Manufacturer’s Instructions: Each trampoline brand and model has specific assembly requirements. It's important to follow the manual closely.
- Rushing the Assembly: Taking shortcuts or skipping steps can lead to poor set-up, which puts users at risk.
- Choosing an Unsafe Location: Ensure the trampoline is placed away from obstacles and on level ground to reduce injury risks.
- Improper Installation of Safety Features: The safety net, pads and trampoline anchors are not optional. They are an essential part of trampoline safety that needs to be fitted correctly.
- Over-tightening Bolts: While it's important to secure connections, over-tightening can cause damage. Use care when tightening, especially if you are using a power drill.
Conclusion
Assembling a 12ft trampoline with an enclosure is a relatively straightforward DIY task that will take you roughly 2-3 hours.
Carefully following manufacturer instructions and this guide will ensure you set up a sturdy, solid trampoline that is safe to use. Remember to get your tools and parts in order before you start for a smoother set-up process. You might want to rope a friend in to help too, for that extra pair of hands!