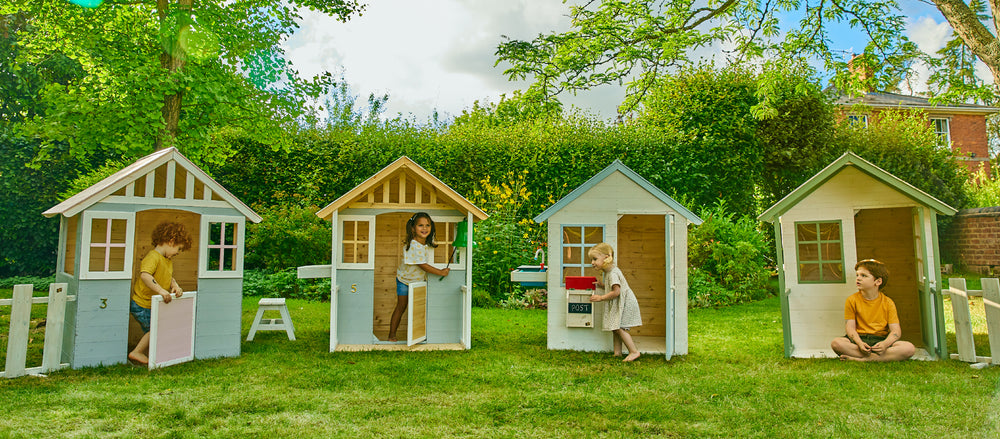
If you’ve purchased one of our amazing wooden playhouses, but want to add your own stamp on it - painting it to suit you and your little ones is a great idea! Don’t worry if DIY is not your strong point, we’ve got some top tips to help give your playhouse the makeover of your dreams!
What tools do I need for the job?
Masking Tape - this gives you clean edges and helps if you’re wanting to paint multiple colours.
Paint Brush - a brush is a must for the parts of your playhouse that require more precision
Rollers - perfect for painting large areas of your playhouse, like the side or roof
Paint tray - making it simple to refill and top up your paint
The best paint for a playhouse
When it comes to choosing the paint for your playhouse, there are a few different things to consider.
Choose the right paint:
You want to make sure that you are choosing exterior paints only. These make sure the playhouse is protected against different weather conditions and will keep it intact.
Check the ingredients:
Paints are made from different materials. Since your little one will be using the playhouse, we recommend using only water-based colours - so we’re not exposing little ones to any unnecessary chemicals.
Choose your finish:
Do you want to paint your playhouse Matte or Gloss? Here’s a quick rundown of both…
Matte paint gives you a flat colour and non-reflective finish. It hides any bumps and imperfections that may occur.
Gloss paint (you can choose between semigloss and high gloss) gives a reflective, bright and shiny finish. They’re also generally more durable than matte paint.
Should I paint my wood playhouse before or after I build it?
If you’re planning on painting just the outside of the playhouse, it may be easiest to do it once it’s been built, however, if you’re wanting to paint the inside too, you’ll probably be better off painting the panels before you put them together (as it might be a little bit of a tight space for an adult to get into!)
Preparing your playhouse
Before you start to paint your playhouse, it’s a good idea to prepare it by wiping it down with a damp cloth. This makes sure there’s no dirt, dust or sand on the playhouse that may interfere with your paint. Don’t forget to give the windows and doors a wipe too as something the dirt can settle on there.
How to paint the playhouse
Step 1: Apply masking tape to all edges of your playhouse, and any parts of the playhouse you want to have a clean line of paint - if you’re painting a pattern for example. The prep in this is what can take the longest, but trust us - it’ll be worth it in the end.
Step 2: Pour your chosen paints into your paint trays and make a start by using your paintbrush to cautiously paint the parameter of the playhouse window frames and doors. It’s best to get the tricky bits out of the way first.
Step 3: Grab a larger flat brush or roller and paint the bigger areas. Make sure you follow the grain of the wood for a better finish. If not, the paint can look rough and unfinished.
Step 4: Depending on how it looks, you may want to apply a second coat. Make sure your first coat is completely dry before starting your second coat.
Step 5: When the house is painted, you may want to grab a smaller paintbrush and paint any trims, features or patterns you like! This is a great time for little ones to make their mark on the playhouse too - why not include their handprints?
Step 6: Finish off your creation with some fairy lights, cushions, bell, a post box and more - the possibilities are endless!