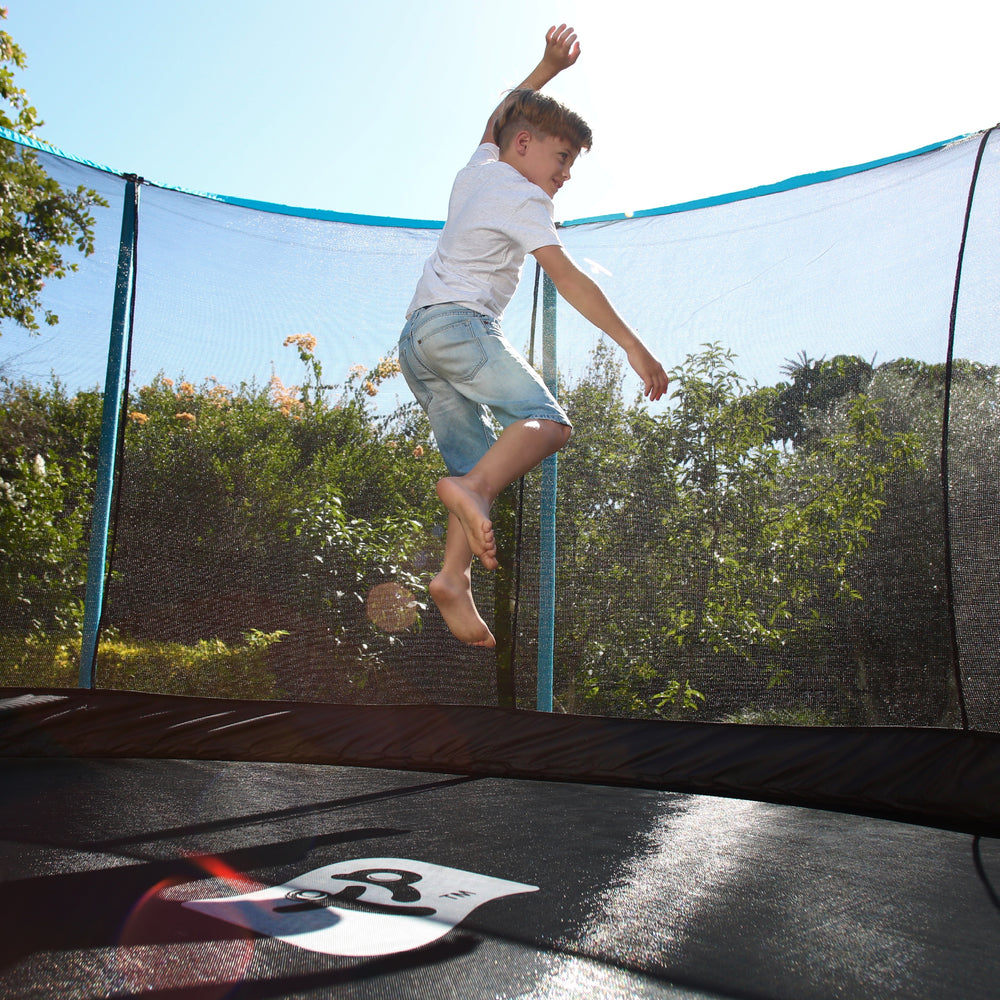
A 10ft trampoline with enclosure, is a great choice for families with kids of all ages. A trampoline is a fun way to keep your kids active and enjoying the outdoors.
But, before anyone can enjoy the trampoline, it needs to be properly assembled. This article is a step-by-step guide for assembling a 10ft trampoline. We will look at the time it takes, the number of springs involved, the overall weight of a 10ft trampoline and the steps you can expect to take when building one.
We will also look at safety features, such as a safety enclosure, which is an essential component for trampolines of any size. If you are deliberating between trampoline sizes, we also look at set-up comparisons, outlining the differences between a 10ft and 14ft trampoline.
Duration of Assembly for a 10ft Trampoline
Trying to pinpoint the exact assembly time for a 10ft trampoline is a little tricky.
The set-up duration will depend on a few factors. For example, the assembler’s DIY skills, whether it's a 2 person job and the model of the trampoline itself. That being said, as a rough guide you can expect to spend between 2-3 hours setting up a 10ft trampoline.
This time includes unpacking the trampoline, constructing the steel frame, attaching the springs, aligning the jump mat, installing the safety net and padding… and, most importantly, getting on there yourself to give it a quick test!
Having specific tools handy, like a spring tool and a rubber mallet, will help you get the job done quicker and with less stress. Using the right tools will also result in a sturdier, more secure trampoline.
Number of Springs on a 10ft Trampoline
Wondering how many trampoline springs you’ll have to battle with when building a 10ft trampoline? It’ll be somewhere between 54 to 72 springs, depending on the make and model.
These trampoline springs are made from high-grade, durable steel that is super strong and resilient. The springs are an essential part of the trampoline. They provide the all-important bounce.
Attaching these springs is a fiddly job that demands a lot of attention. Each spring has to be carefully attached to both the steel frame and the jumping mat, using a spring tool. The spring tool will help you achieve the correct tension across all springs. Getting the correct spring tension is really important, this is what determines the quality of the bounce and the safety of the trampoline.
Weight Considerations for a 10ft Trampoline
The weight of a 10ft trampoline package will vary depending on manufacturer, model and construction materials. On average, a packaged 10ft trampoline will weigh between 45-68 kg. So, make sure there’s someone strong around on the delivery day!
This hefty weight is mostly due to the extra strong steel frame. It’s a sign of the trampoline’s robustness and the materials' quality. It ensures the trampoline is stable enough to support its users.
Step-by-Step Assembly of a 10ft Trampoline
The assembly of a 10ft trampoline will happen over a few stages:
Clearing the Area: Start by clearing your trampoline building area. You don’t want to be battling with garden furniture and plant pots in your assembly zone!
- Unboxing the Trampoline Package: Then, you can unpack all components, arranging them neatly for easy identification. This includes the steel frame, jump mat, springs, safety padding, enclosure net and enclosure poles. Remember, the package will be heavy, so bend with the knees!
- Constructing the Steel Frame: Once you’ve got your parts in order, you can begin to assemble the trampoline’s steel frame. Usually, these will be secured together using a push-button mechanism. The frame must be level and firmly connected, forming a stable foundation for the trampoline.
- Fitting the Springs: Use the spring tool to attach the springs from the jump mat to the frame. This task requires a lot of attention and precision, so make sure you avoid any distractions!
- Laying the Jump Mat: Once all springs are in place, ensure the jump mat is correctly positioned and securely fastened.
- Erecting the Safety Enclosure: Fasten the enclosure poles to the trampoline frame before attaching the enclosure net to these poles. This safety feature helps to prevent falls and injuries.
- Applying the Safety Padding: Lay the safety padding over the springs to protect bouncers from colliding with these hard parts. This will ensure a safe jumping environment.
- Conducting Final Inspections: Review all connections, checking that all components are tightly secured and correctly assembled.
Erecting a 10ft Trampoline
Erecting a 10ft trampoline is not a complicated task. It requires a few hours of work, a couple of tools, and attention to detail. Getting a mate involved for an extra pair of hands can also help.
Choosing the right area for your trampoline is one of the most important steps. Ensure the area is far from hazards such as trees or walls. There should be at least 2m of clearance around the edge of your trampoline, to protect bouncers in case they fall off. Then, follow the manufacturer’s step-by-step assembly guidelines and your trampoline will be up in no time. Don’t forget to give it a good inspection and a cheeky test yourself, before you let the kids on it!
If you are thinking about going for a larger model that offers a higher user weight, the assembly of a 14ft trampoline follows the same process. It may take you longer, as there are more springs to attach, but the steps will be the same.
So, there you have it. Your ultimate step-by-step guide to set up a trampoline!


